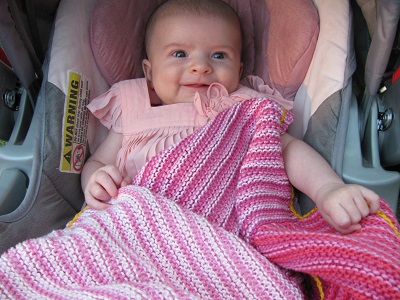
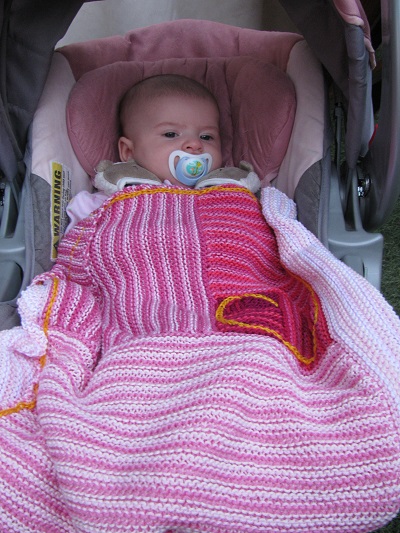
I finished my Fibonacci Blanket to give to my little niece Meredith!
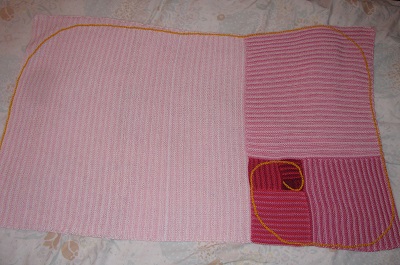
The blanket is a Golden Rectangle, with a Golden Spiral, based on the Fibonacci numbers.
Here’s how the Fibonacci sequence works. You start with 1, then each number in the sequence is the sum of the two previous numbers.
So the sequence goes: 1, 1, 2, 3, 5, 8, 13, 21, 34, 55, …. To get the next number, just add up the two previous numbers.
To make a Golden Rectangle, start with a square with sides of length 1. On the side of that square, make a square that touches it and has sides of length 1. For the next square, use the sides of the two previous squares next to each other. So that square will have sides of length 1 + 1 = 2.
Spiral the squares around so that the sides of the new squares are always the sum of the two previous squares. This Golden Rectangle that results (all these squares together) is a pleasing proportion to human eyes. If you extend the Fibonacci series out and take the average of each number divided by the previous entry, it gets closer and closer to ?, phi, the Golden Mean.
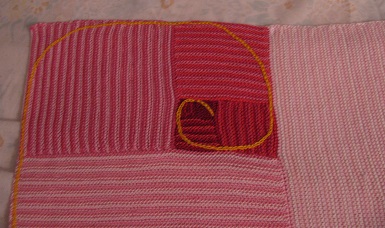
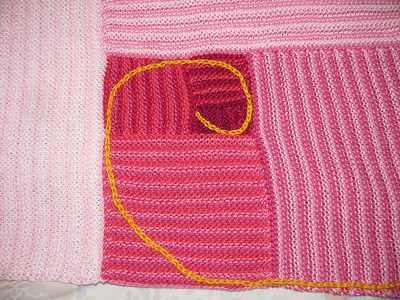
You can also make a Fibonacci Spiral inside the Golden Rectangle by inscribing a semicircle inside each square. My semicircles aren’t perfect in this blanket (I eyeballed them.), but I think it gives the idea.
To make the blanket I chose shades of pink once I found out the baby would be a girl. I began with one color in the square for 1. The next square used stripes of that color and a new, slightly lighter color. The next square used the colors for each of the two previous squares and added a new color. I just alternated rows with each of the three colors.
That was the pattern I used for the rest of the blanket. Mirroring the Fibonacci Sequence, I used a color from each of the two previous squares and added a new color representing the new square.
Then I crocheted a chain-stitch Golden Spiral on the finished blanket.
I did the blanket in garter stitch, since that stitch is the best for squares. If the number of ridges and number of stitches are equal, you’ll get a square.
My unit square had six ridges (twelve rows), so one unit was six ridges. I went up to 21, so my final square was 21 x 6 = 126 stitches wide and 126 ridges high.
Best of all, the colors turned out very pretty for my lovely niece Meredith!